 Welcome, fellow tech enthusiasts! Are you ready to embark on an exciting journey into the world of Slackware? In this step-by-step tutorial, we will unravel the mysteries of Slackware Linux installation and guide you through the process with ease. Whether you’re a beginner or an experienced user looking to expand your Linux horizons, this guide is the perfect starting point.
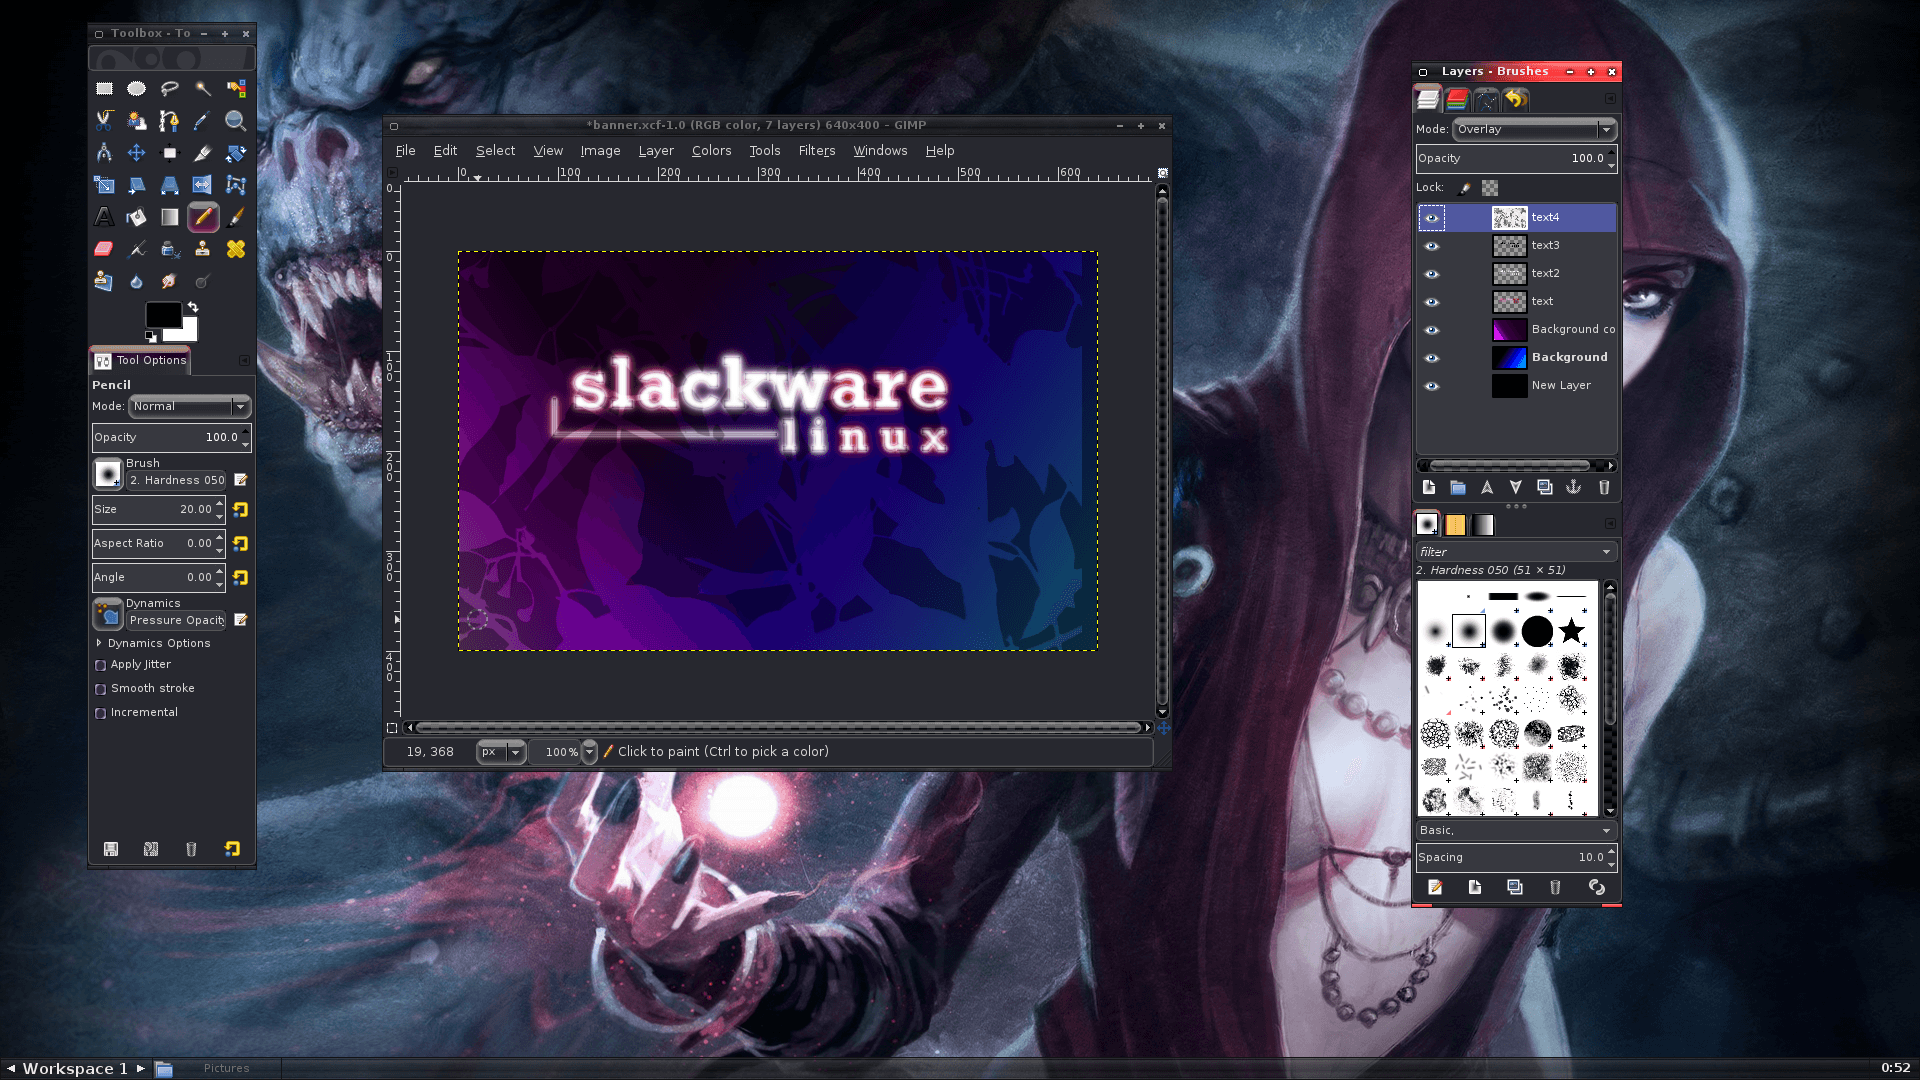
Now, you might be wondering, what exactly is Slackware and why should you choose it? Well, let me tell you, Slackware is a rock-solid, stable, and secure Linux distribution that has stood the test of time. It’s known for its simplicity, adherence to UNIX principles, and emphasis on stability. With Slackware, you’re in control of your system, and it provides a fantastic learning experience.
2. Understanding Slackware
Before we dive into the installation process, let’s take a moment to understand what Slackware is all about. Slackware is a Linux distribution that was first released way back in 1993, making it one of the oldest surviving distributions. Its philosophy revolves around simplicity and stability, offering a clean and minimalistic approach to Linux.
One of the key advantages of Slackware is its lightweight nature, which makes it ideal for both older hardware and modern systems. It allows you to have complete control over your system and gives you a deep understanding of how Linux works under the hood. With Slackware, you’ll learn the ins and outs of the command line interface, gain valuable knowledge about package management, and develop a strong foundation in Linux.
3. Preparing for Slackware Installation
Now that you’re excited about Slackware, it’s time to get prepared for the installation process. The first step is to obtain the Slackware distribution. Head over to the official Slackware website and download the ISO image that matches your system architecture. Once you have the ISO, you can create a bootable USB or burn it onto a DVD using your favorite tool.
Before diving into the installation, it’s always a good idea to take a moment to back up any important data on your system. While the installation process is generally smooth and reliable, having a backup ensures that you can restore your files in case of any unforeseen circumstances.
4. Installing Slackware
Alright, it’s installation time! Insert your bootable USB or DVD into your computer and restart. Make sure your system is set to boot from the installation media. Once the Slackware installation program starts, you’ll be greeted with a friendly setup screen. Follow the on-screen instructions to proceed.
During the installation, you’ll have the opportunity to select various options, such as the installation source, keyboard layout, and time zone. One critical step is partitioning the disk. Slackware gives you the freedom to customize your partitions according to your needs. It’s essential to plan your partitions carefully to ensure efficient disk usage.
5. Configuring Slackware
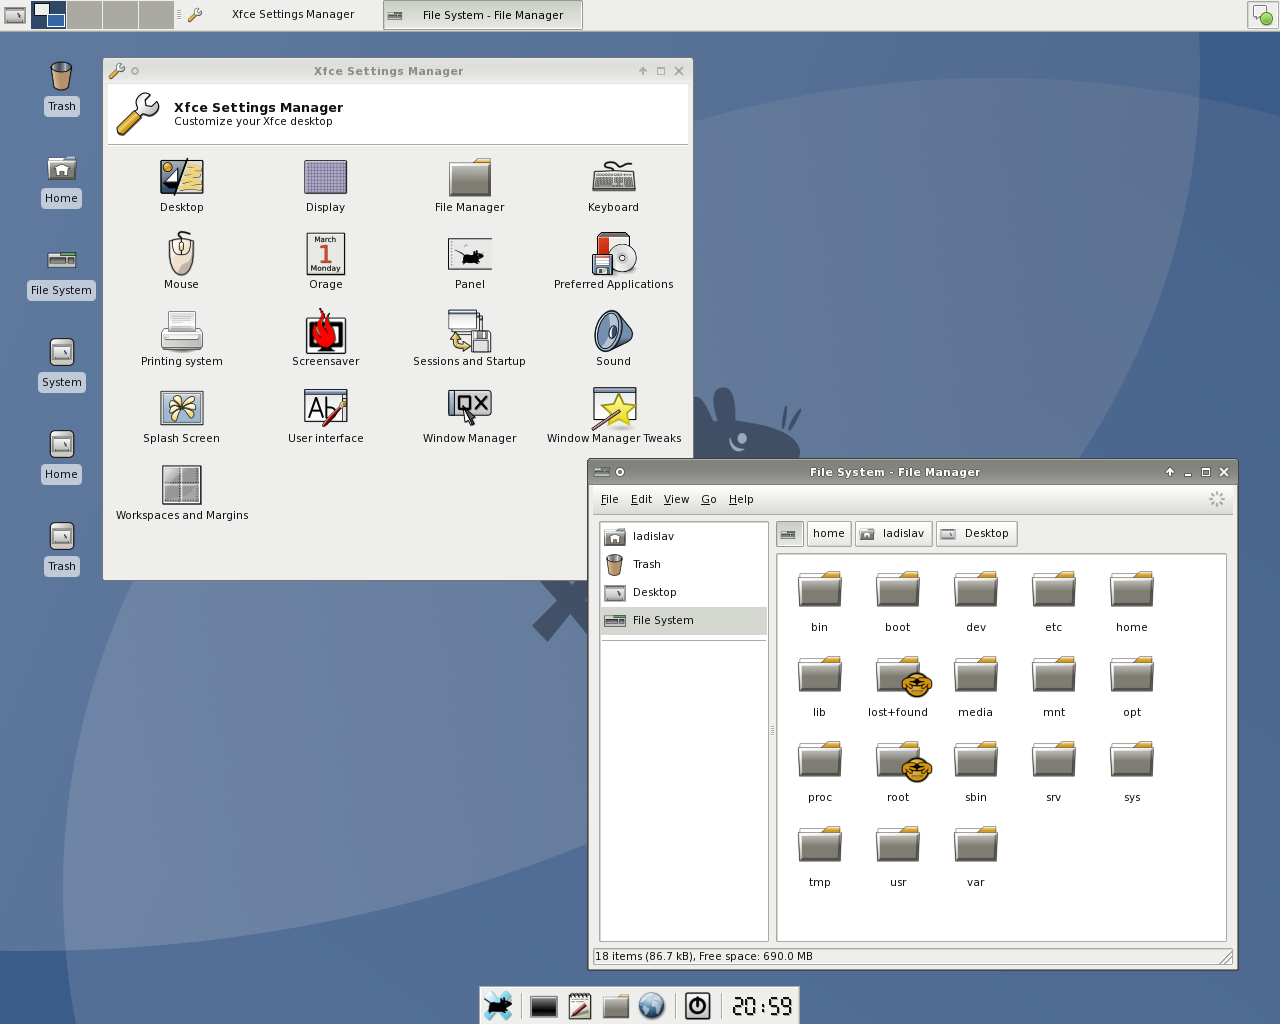
Congratulations! You’ve successfully installed Slackware on your system. Now it’s time to configure it and make it truly yours. Begin with the basic system configuration, which involves setting up essential services and tweaking system settings to your liking. Next, ensure that your network setup is working correctly to establish connectivity.
User account management is another vital aspect of configuring Slackware. Create user accounts for yourself and any additional users, and manage their privileges accordingly. Additionally, don’t forget to configure the display manager, which controls the login screen and the graphical interface.
6. Exploring the Slackware Environment
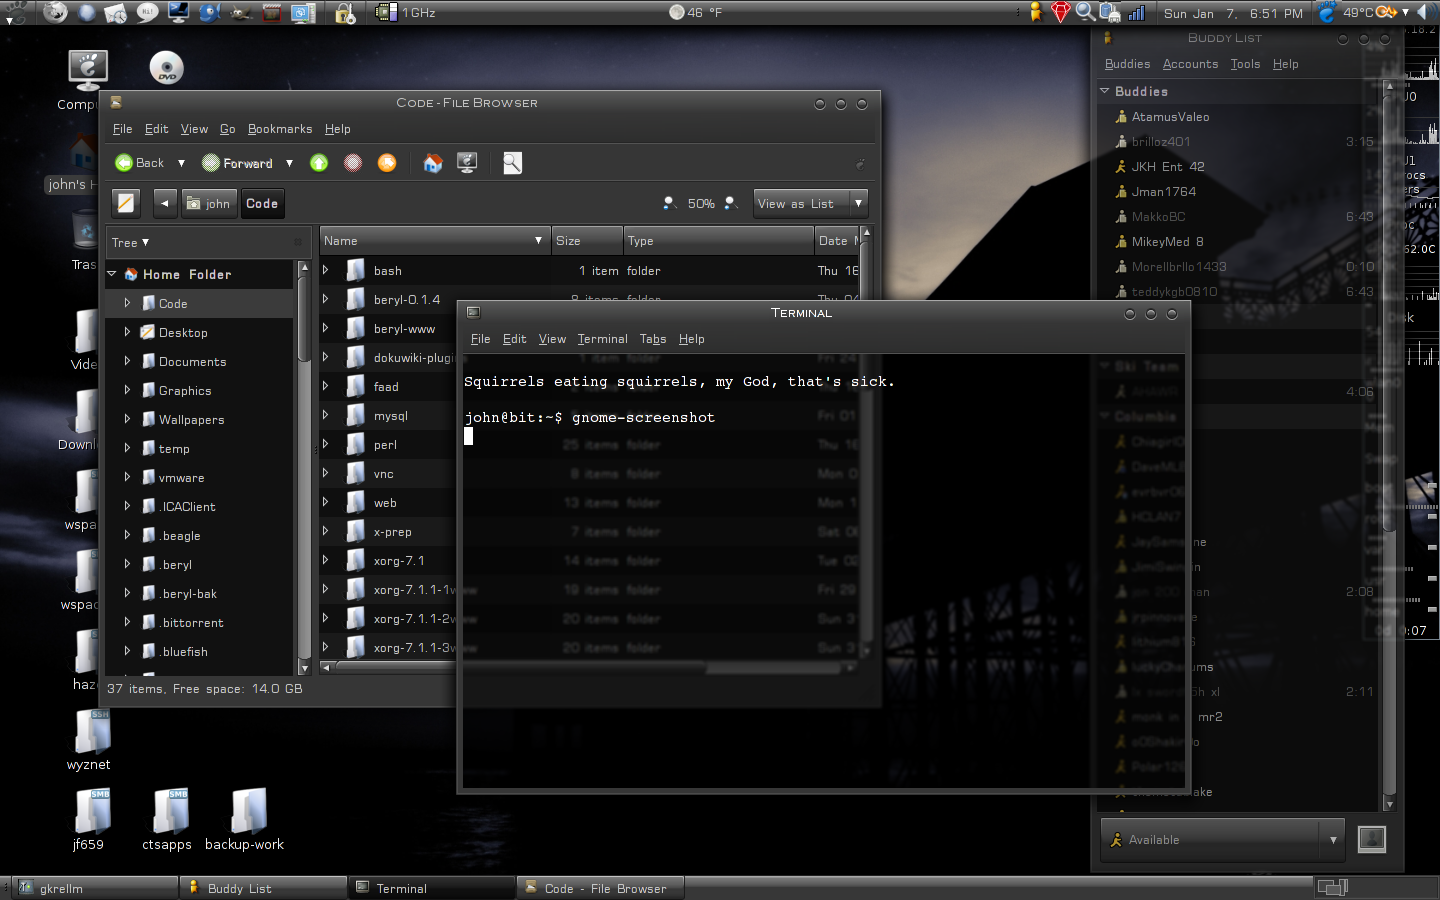
Welcome to the command line interface, the heart and soul of Slackware! Navigating through the command line might seem daunting at first, but fear not, we’re here to guide you. Get ready to explore essential command line tools and unleash the power of the terminal. From file management to text editing, you’ll learn invaluable skills that will boost your productivity.
One of the strengths of Slackware is its package management system. Discover how to use the package manager to install, upgrade, and remove software effortlessly. With Slackware’s package management, you’ll have access to a vast repository of software, allowing you to customize your system to suit your needs.
7. Troubleshooting and Common Issues
As with any operating system, issues may arise during your Slackware journey. But worry not, we’ve got your back! Learn how to diagnose hardware compatibility issues and resolve software conflicts like a pro. Troubleshooting network connectivity is another essential skill that will come in handy. By understanding the common problems and their solutions, you’ll become a master problem-solver.
8. Advanced Topics and Further Resources
Congratulations on reaching the advanced stage of your Slackware adventure! Now it’s time to take your system customization to the next level. Discover how to personalize your Slackware environment by tweaking settings, exploring additional software repositories, and unlocking hidden gems within the distribution. Plus, don’t forget to join the vibrant Slackware community, where you can connect with like-minded enthusiasts, seek help, and share your knowledge.
9. Conclusion
And there you have it, a comprehensive step-by-step tutorial to kickstart your Slackware journey. We’ve covered everything from installation to advanced customization, equipping you with the necessary skills to thrive in the Slackware ecosystem. Remember, learning is a continuous process, so keep exploring, experimenting, and pushing the boundaries of your knowledge. Embrace the power and freedom that Slackware offers, and let it be your gateway to endless possibilities in the Linux world.
Leave a Reply