 Welcome, DIY enthusiasts! Are you ready to embark on a fun and fulfilling project? Look no further than building your very
own pole barn door. In this guide, we’ll take you through each step of the process, from understanding the basics to adding
the finishing touches. Get ready to unleash your creativity and create a stunning pole barn door that perfectly complements
your space.
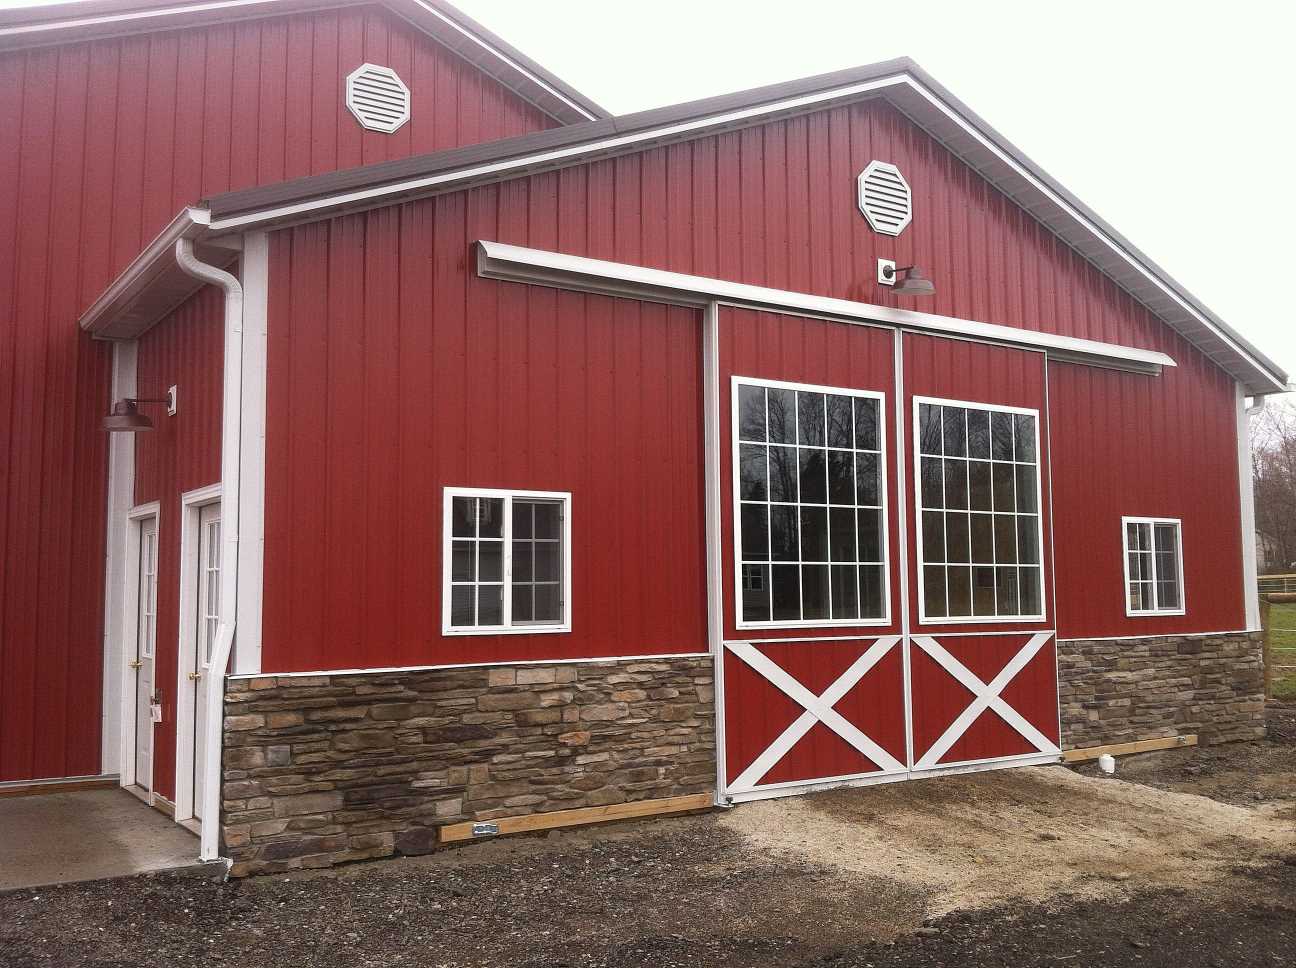
Importance of Pole Barn Doors: Pole barn doors are not only functional but also add a touch of rustic charm
to any setting. Whether you’re constructing a pole barn for agricultural purposes or simply looking to enhance the appeal of
your backyard shed, a well-built pole barn door is essential for easy access and a visually pleasing entrance.
Overview of the Guide: In this comprehensive guide, we’ll cover everything you need to know about building
your own pole barn door. We’ll start with understanding the purpose and benefits of these doors, gather the necessary tools
and materials, and create a plan to ensure a smooth construction process. Then, we’ll delve into the exciting part: designing
your door, constructing the frame, attaching panels, and applying finishes. Finally, we’ll guide you through the installation,
maintenance, and care of your beautiful pole barn door. Let’s get started!
Understanding Pole Barn Doors
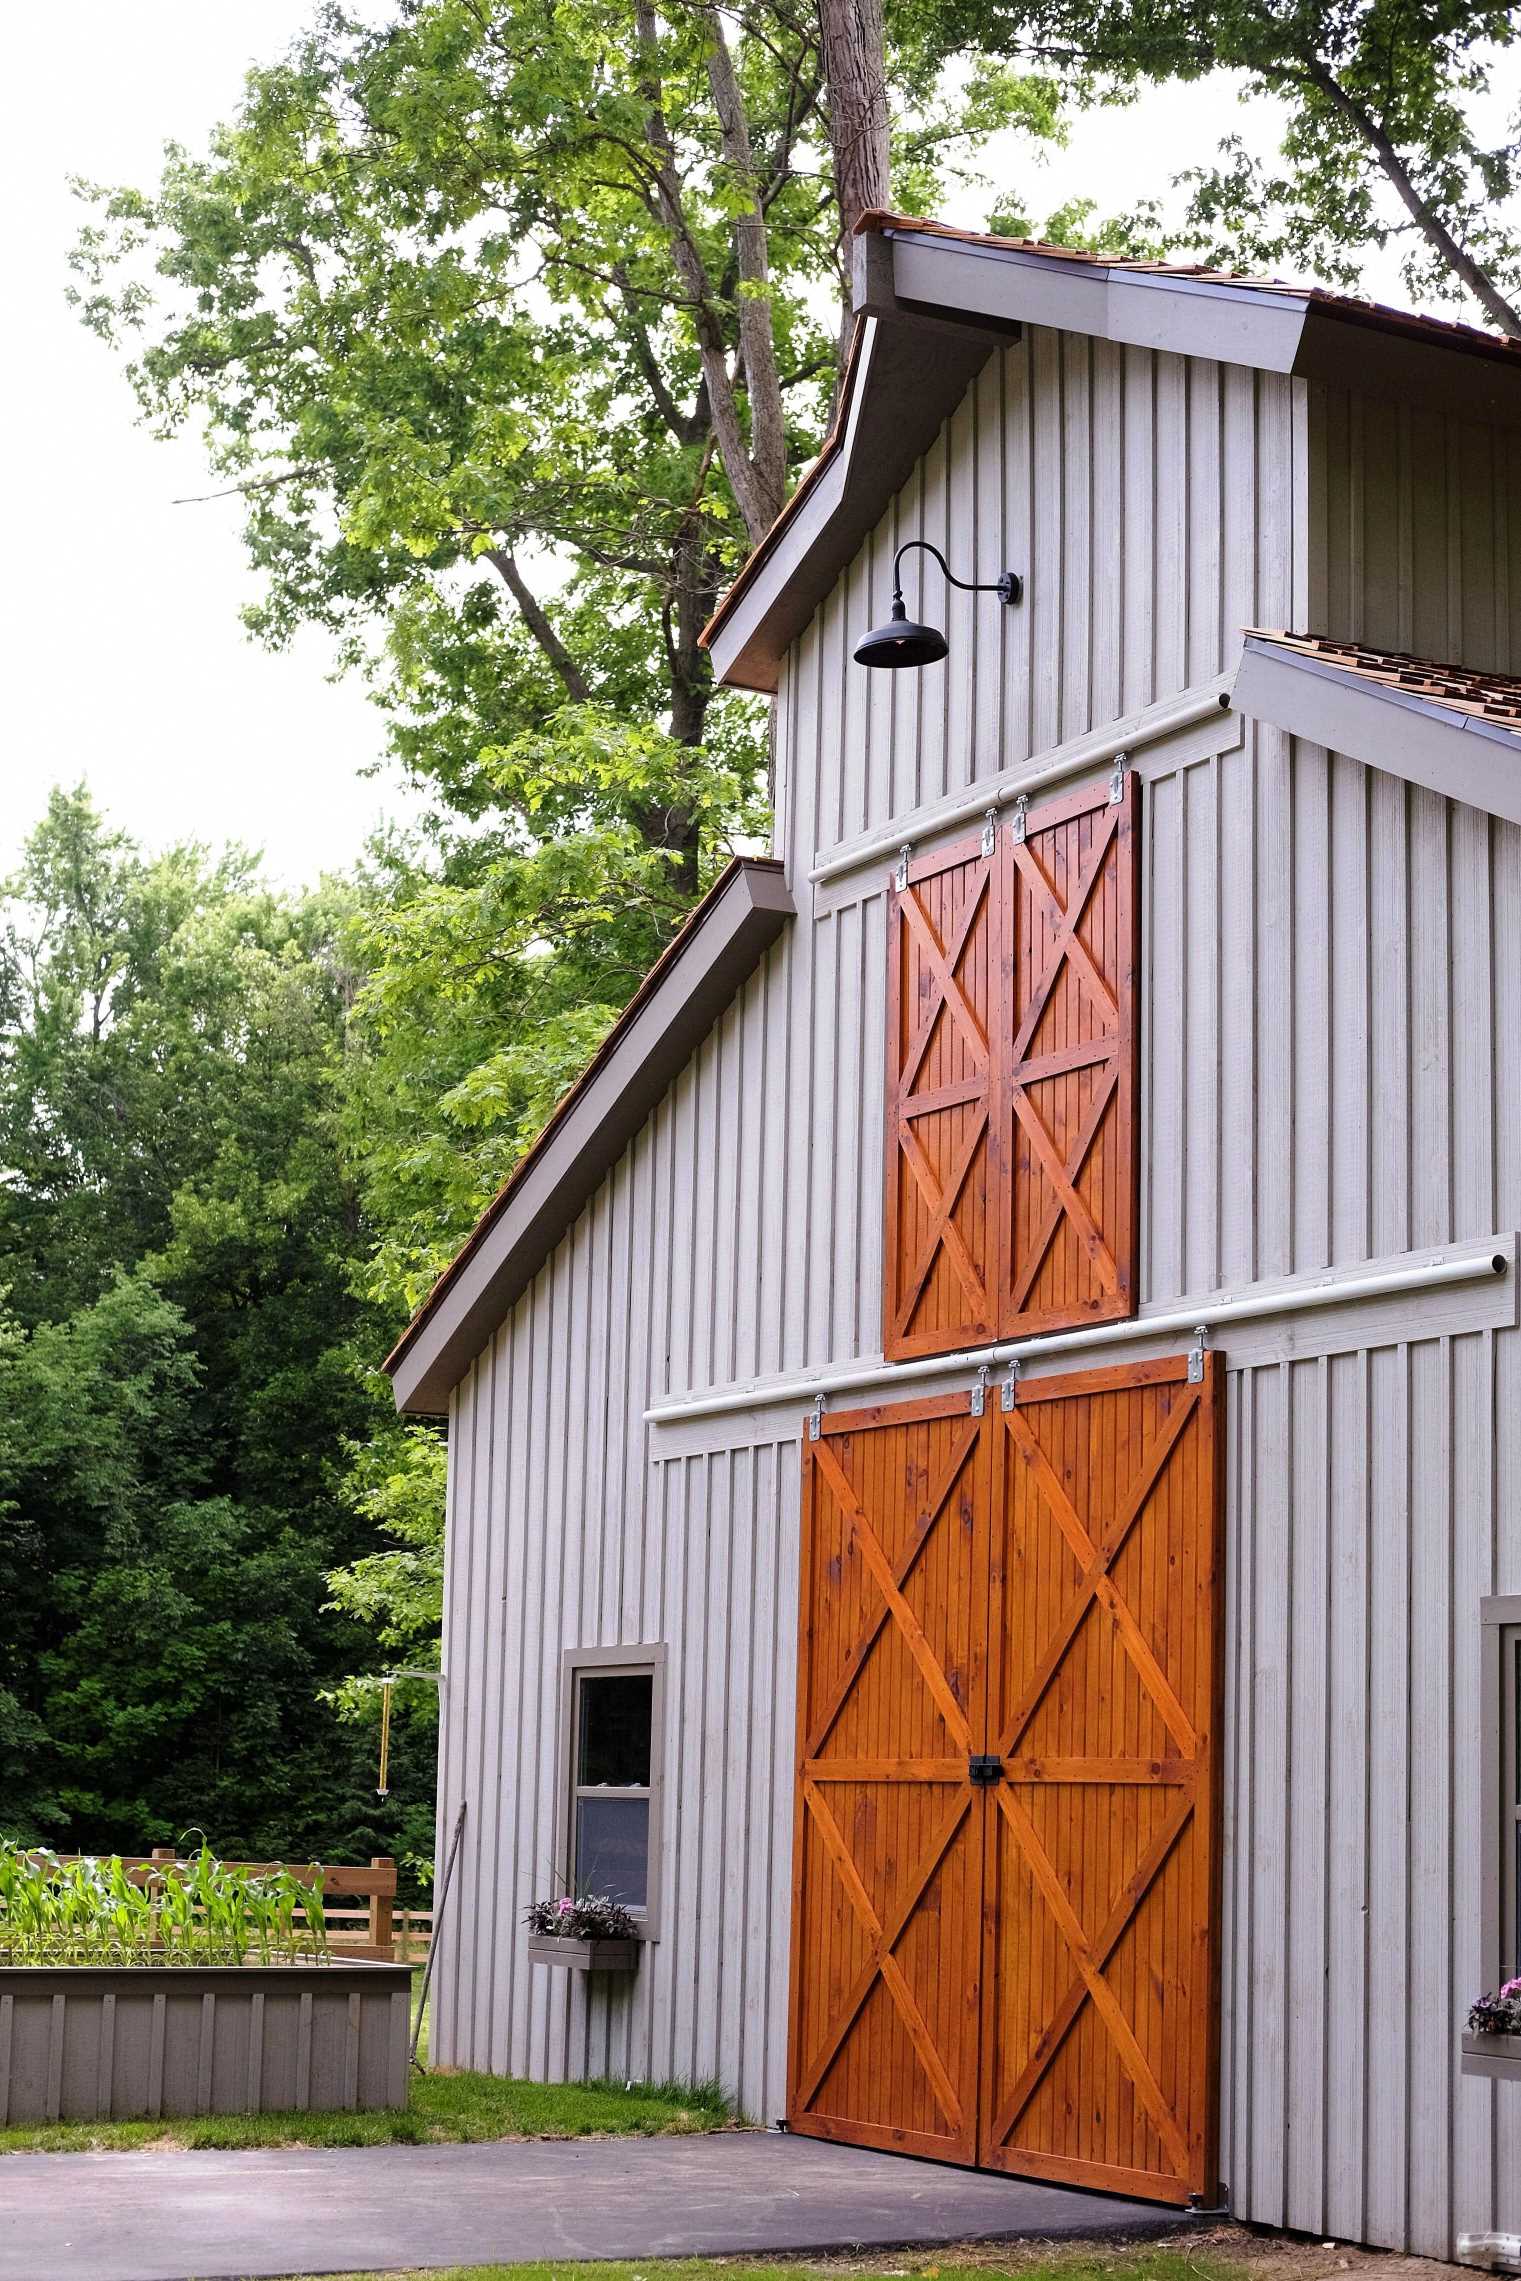
Before we dive into the construction process, let’s familiarize ourselves with what pole barn doors are all about. Pole barn
doors are large, sliding doors commonly used in pole barns, agricultural buildings, and even residential applications. They
offer a wide opening for easy access, making them ideal for storing equipment, livestock, or even serving as a unique entrance
to your home or garden shed.
Benefits of Building Your Own Pole Barn Door: Building your own pole barn door has several advantages. First
and foremost, it allows you to customize the design and style to match your personal taste and the overall aesthetics of your
space. By going the DIY route, you also have control over the quality of materials used, ensuring durability and longevity.
Additionally, constructing your own door can be a cost-effective option, as it eliminates labor costs associated with hiring
professionals. Plus, the sense of accomplishment and pride that comes with completing a project of this nature is truly
rewarding.
Gathering Tools and Materials
Before you start building your pole barn door, it’s important to gather the necessary tools and materials. Here are the essential tools you’ll need: a measuring tape, circular saw, drill, screwdriver, chisel, hammer, level, and clamps. These tools will help you throughout the construction process, ensuring precise measurements, accurate cuts, and sturdy assembly.
When it comes to choosing materials for your pole barn door, consider factors such as durability, weather resistance, and aesthetics. Common materials include wood, metal, or a combination of both. If you opt for wood, select a sturdy and rot-resistant variety like cedar or oak. For metal doors, look for materials such as steel or aluminum, which offer strength and longevity.
Estimating the quantities of materials you’ll need is crucial to avoid any delays or shortages during the construction. Measure the dimensions of your door opening and calculate the required amount of wood or metal for the frame and panels. Don’t forget to account for any additional materials needed for hinges, handles, locks, and finishes. It’s always better to have a little extra material than to run out midway through the project.
Preparing the Workspace
Now that you have your tools and materials ready, it’s time to prepare your workspace. Start by clearing the area where you’ll be constructing your pole barn door. Remove any obstacles, debris, or unnecessary items that may hinder your progress or pose safety risks. You’ll want a clean and organized space to work efficiently and safely.
Speaking of safety, it’s crucial to take precautions before starting any construction project. Wear appropriate protective gear, such as safety goggles, gloves, and a dust mask. If you’re working with power tools, make sure you read and understand their instructions and follow proper safety guidelines. Additionally, keep your workspace well-lit and ventilated.
Remember, safety should always be a top priority to ensure a successful and accident-free building process. By preparing your workspace properly and taking necessary precautions, you’ll set the stage for a smooth and enjoyable DIY project.
Measuring and Planning
Before you start cutting and assembling your pole barn door, it’s important to take accurate measurements and create a solid plan. Begin by determining the dimensions of your door. Measure the width and height of the opening, keeping in mind any additional clearance needed for smooth operation. With these measurements, you can calculate the size of the door frame and panels to ensure a perfect fit.
Once you have your measurements, mark them clearly on the materials using a pencil or marker. Double-check your calculations to avoid any mistakes before making any cuts. Creating a cutting list will help you keep track of the different pieces needed for the frame and panels. Organize the list based on the dimensions, quantities, and types of materials required, making it easier to gather everything you need for each step.
Planning and measuring accurately from the beginning will save you time and reduce the chances of errors during the construction process. Taking these extra steps will ensure that your pole barn door fits seamlessly and operates smoothly when it’s completed.
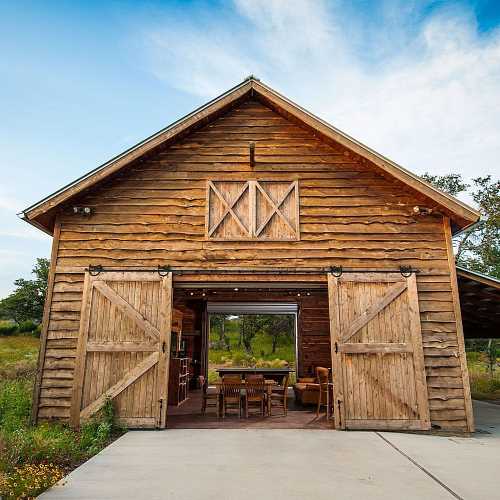
Selecting the Design and Style
Now comes the exciting part—selecting the design and style of your pole barn door! There are various options to choose from, each with its own unique charm. Common pole barn door designs include traditional single panel doors, classic Z-brace doors, or contemporary double X-brace doors. Consider the overall aesthetics of your space and your personal preferences when making your decision.
In addition to the design, think about the functionality of your pole barn door. Will it slide horizontally or swing open? This will determine the type of hardware and accessories you’ll need. Browse through different options for hinges, handles, locks, and pulls, ensuring they complement your chosen design and provide the desired level of security and convenience.
Remember, your pole barn door is not just a functional element; it’s also a visual focal point. So, have fun exploring different designs, styles, and hardware options to create a door that truly reflects your personality and enhances the overall look of your space.
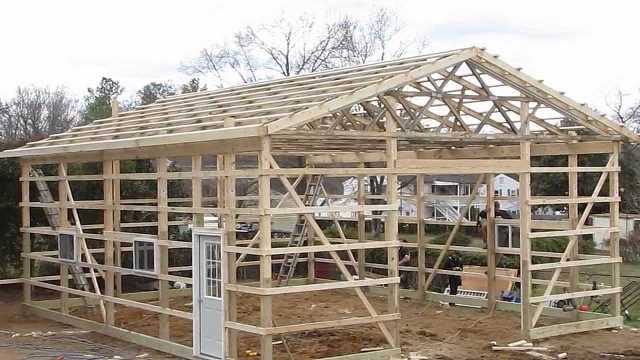
Constructing the Frame
With your design and measurements in hand, it’s time to construct the frame of your pole barn door. Start by cutting the frame components according to your cutting list. Use your circular saw to make precise cuts, ensuring that all pieces are the correct length and angle. Once you have all the components ready, assemble them using joinery techniques such as mortise and tenon, pocket screws, or dowel joints. These methods will provide strength and stability to your door frame.
As you assemble the frame, pay attention to the alignment and squareness. Use a level to ensure the frame is straight and plumb. You can also use clamps to hold the pieces securely in place while you attach them. Consider reinforcing the joints with wood glue or metal brackets for added strength. Taking the time to construct a sturdy frame will ensure the longevity and durability of your pole barn door.
Remember, precision is key when constructing the frame. Double-check your measurements and take your time to ensure a well-built and stable foundation for your pole barn door.
Installing the Door Panels
Once the frame is complete, it’s time to install the door panels. Begin by cutting the panels to the appropriate size, ensuring a proper fit within the frame. Smooth the edges and surfaces of the panels using sandpaper to create a seamless finish. With the panels prepared, attach them to the frame using screws or nails, making sure they are securely fastened.
As you install the panels, check for any gaps or unevenness. Make any necessary adjustments to ensure a tight and even fit. Test the sliding or swinging motion of the door to ensure smooth operation. If needed, you can add weatherstripping or insulation to improve energy efficiency and weatherproofing.
Installing the door panels is a significant step that brings your pole barn door to life. Take care to align the panels correctly and secure them properly to create a functional and aesthetically pleasing door.
Applying Finishes
Now that your pole barn door is taking shape, it’s time to add the finishing touches. Start by sanding the surface of the door to smooth out any rough areas or imperfections. This step will not only improve the overall appearance but also create a surface that is ready for painting or staining.
Select paints or stains that are suitable for the material of your door. If you choose to paint, consider using outdoor-grade paint that offers durability and weather resistance. Stains can enhance the natural beauty of wood while providing protection against the elements. Apply the chosen finish using a brush or roller, following the manufacturer’s instructions. Allow the finish to dry completely before proceeding to the next step.
Applying finishes not only adds a final touch of beauty to your pole barn door but also protects it from moisture, UV rays, and other environmental factors. Take your time during this step to ensure a smooth and even application, resulting in a stunning and long-lasting finish.
Mounting and Hanging the Pole Barn Door
With your door fully constructed and finished, it’s time to mount and hang it in place. Start by installing the necessary door hardware, such as hinges, handles, locks, and pulls. Choose hardware that is sturdy, durable, and matches the overall style of your door. Follow the manufacturer’s instructions to ensure proper installation.
Position the door in the door opening and align it carefully. Use a level to ensure the door is straight and plumb. Mark the positions of the hinges on the door frame, and attach the hinges securely using screws or nails. Test the door’s movement to ensure it opens and closes smoothly.
Once the door is mounted, make any necessary adjustments to ensure proper clearance and sealing. Check for any gaps between the door and the frame, and install weatherstripping or door sweeps to enhance insulation and weatherproofing. Take your time to fine-tune the door’s alignment and operation, ensuring that it functions seamlessly.
Congratulations! Your pole barn door is now installed and ready to be enjoyed. Step back and admire your hard work and craftsmanship. It’s a beautiful addition that not only enhances the functionality of your space but also showcases your DIY skills.

Maintaining and Caring for Your Pole Barn Door
Now that your pole barn door is complete, it’s important to establish a maintenance routine to keep it in optimal condition for years to come. Regular cleaning is key to prevent the buildup of dirt, dust, and debris. Use a mild detergent and water solution to gently clean the surface of the door. Avoid harsh chemicals or abrasive cleaners that could damage the finish.
Inspect your door periodically for any signs of wear, damage, or loose hardware. Tighten screws or replace any worn-out components as needed. If you notice any cracks or peeling in the finish, consider applying a fresh coat of paint or stain to protect the door and maintain its appearance.
In areas with extreme weather conditions, it’s important to take additional steps to protect your pole barn door. Consider adding a protective sealant or applying a weather-resistant finish to shield it from moisture, sunlight, and temperature fluctuations. This will help prolong the life of your door and ensure it remains in great shape.
By implementing regular maintenance practices and addressing any issues promptly, you’ll ensure that your pole barn door remains functional, visually appealing, and a standout feature of your space for years to come.
Congratulations on completing your journey to build your very own pole barn door! In this ultimate guide, we’ve covered everything from understanding the basics of pole barn doors to the step-by-step process of construction, finishing, installation, and maintenance. You’ve learned the importance of accurate measurements, the joy of selecting designs and hardware, and the satisfaction of seeing your project come together.
Building a pole barn door is a rewarding DIY project that allows you to showcase your creativity and craftsmanship. Whether you’re constructing a door for a functional barn, shed, or any other structure, or simply adding a touch of charm to your space, a well-built and beautifully designed pole barn door is a testament to your skills and personal style.
Now, armed with the knowledge and confidence gained from this guide, it’s time to roll up your sleeves and embark on your own pole barn door construction adventure. Enjoy the process, have fun with the design choices, and don’t forget to take pride in the finished result. Happy building!
Leave a Reply