 Welcome to our complete tutorial on troubleshooting and repairing a faulty thermocouple! If you’ve ever experienced issues with your thermocouple or wondered how to fix it, you’ve come to the right place. In this tutorial, we’ll guide you through the process of diagnosing and repairing common thermocouple problems, ensuring your equipment functions optimally.
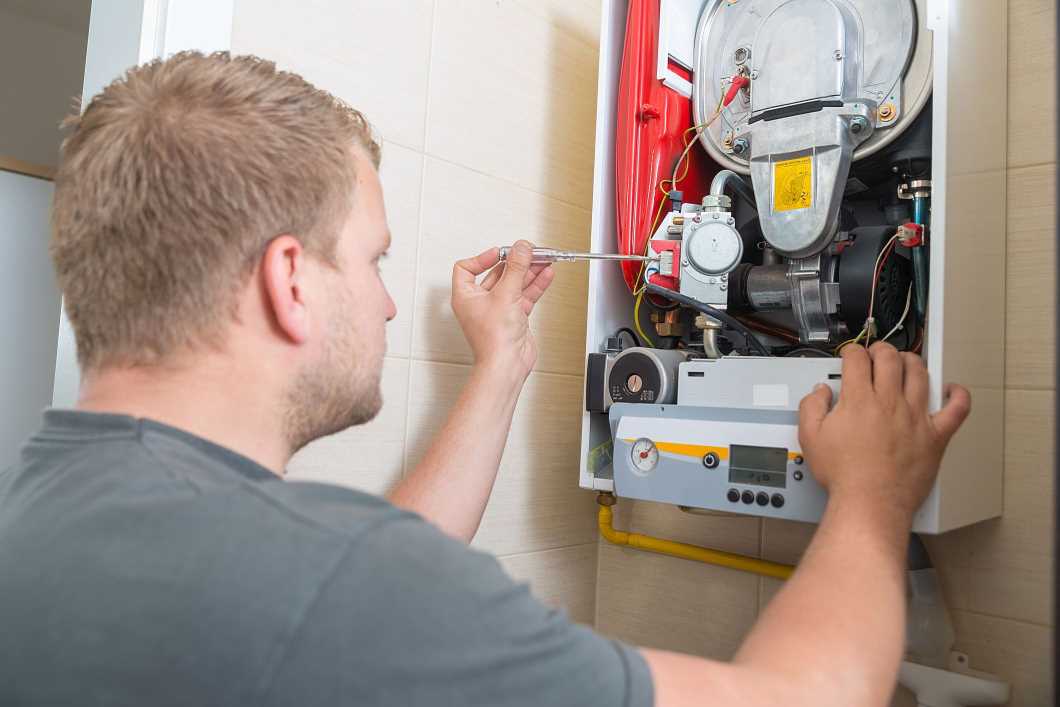
Before we dive into the troubleshooting and repair techniques, let’s quickly go over what a thermocouple is and why it’s essential to address any faults promptly. A thermocouple is a sensor used to measure temperature in various applications, such as heating systems, furnaces, and industrial processes. It consists of two different metal wires joined at one end, creating a junction that produces a voltage proportional to the temperature difference. Troubleshooting and repairing faulty thermocouples are crucial to ensure accurate temperature readings and prevent potential system malfunctions.
Understanding Thermocouples
To effectively troubleshoot and repair a faulty thermocouple, it’s essential to grasp how it functions. When two dissimilar metals are connected, a phenomenon known as the Seebeck effect occurs. This effect generates a small voltage when there is a temperature gradient between the two junctions. Thermocouples come in different types, including Type K, J, T, and E, each suitable for specific temperature ranges and applications.
Now, let’s talk about common issues and symptoms that indicate a faulty thermocouple. One of the most prevalent problems is a loss of signal, resulting in inaccurate temperature readings or no readings at all. You might also encounter a weak or intermittent signal, which can cause fluctuations and instability in your system. Additionally, physical damage to the thermocouple wires, such as breaks or frayed insulation, can lead to faulty readings. By understanding these symptoms, you’ll be better equipped to troubleshoot and repair your thermocouple effectively.
Tools and Materials Required
Before you begin troubleshooting and repairing your thermocouple, it’s important to gather the necessary tools and materials. Here’s a list of what you’ll need:
- Multimeter for continuity and resistance measurements
- Wire strippers to remove insulation from wires
- Small brush or cotton swabs for cleaning the thermocouple
- Replacement thermocouple component (if needed)
- Safety gloves and goggles for protection
Having these tools at hand will ensure a smooth repair process and help you accurately diagnose and fix the issues with your thermocouple.
Safety Precautions
Before you delve into repairing your thermocouple, it’s crucial to prioritize safety. Working with electrical components requires caution and adherence to safety measures. Here are a few precautions to keep in mind:
- Ensure the power to the system is turned off before starting any work.
- Wear safety gloves and goggles to protect your hands and eyes from any potential hazards.
- Handle the thermocouple with care to avoid damaging the wires or the junction.
- Avoid touching any live wires or exposed electrical components.
- If you’re unsure about any step or encounter a complex issue, it’s always wise to seek professional assistance.
By following these safety precautions, you can prevent accidents and ensure your well-being while working on your thermocouple.
Step-by-Step Guide: How to Repair a Thermocouple
Now let’s dive into the step-by-step process of repairing a faulty thermocouple. By following these instructions, you’ll be able to diagnose and fix common issues effectively.
Step 1: Inspecting and Identifying the Faulty Thermocouple
Start by visually inspecting the thermocouple for any visible damage or signs of wear. Look for frayed wires, breaks, or loose connections. Identify the specific thermocouple that is causing the issue if you have multiple units in your system.
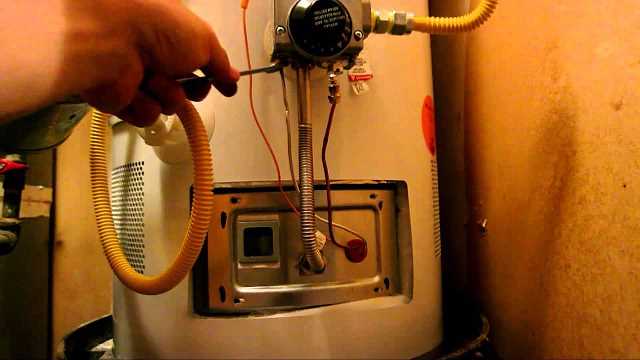
Step 2: Disconnecting the Thermocouple from the System
To ensure safety and prevent any electrical interference, disconnect the thermocouple from the system. Carefully remove any connectors or terminals that attach the thermocouple to the rest of the equipment.
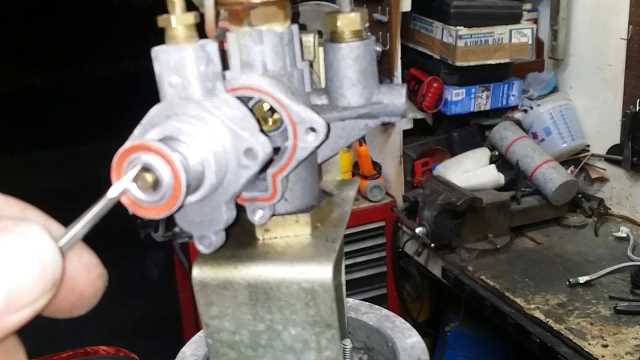
Step 3: Cleaning the Thermocouple
Using a small brush or cotton swabs, gently clean the thermocouple wires and junction. Remove any dirt, debris, or oxidation that may be affecting its performance. Ensure the wires are free from any obstruction and have a clean, smooth surface.
Step 4: Checking for Continuity and Resistance
Using a multimeter set to continuity or resistance mode, check the continuity of the thermocouple wires. Touch the multimeter probes to the two ends of the thermocouple wires and ensure there is a continuous connection. Measure the resistance to ensure it falls within the expected range for your specific thermocouple type.
Step 5: Replacing the Defective Thermocouple Component
If you’ve determined that a specific component of the thermocouple is faulty, such as a broken wire or a damaged junction, it may be necessary to replace it. Refer to the manufacturer’s instructions or consult a professional to obtain the correct replacement component for your thermocouple. Carefully disconnect the faulty component and install the new one, ensuring proper connections and secure fastening.
Step 6: Reconnecting and Testing the Repaired Thermocouple
Once the replacement component is securely in place, reconnect the thermocouple to the system. Double-check all connections and ensure they are properly tightened. Turn on the power to the system and test the thermocouple to verify if the issue has been resolved. Monitor the temperature readings and observe any fluctuations or abnormalities. If the readings are stable and accurate, congratulations! You have successfully repaired your thermocouple.
Troubleshooting Tips
In addition to the step-by-step guide, here are some troubleshooting tips to help you address common issues related to thermocouples:
- If you encounter intermittent signal or fluctuations in temperature readings, check for loose connections or poor contact between the thermocouple and the system.
- In cases of no signal or inaccurate readings, ensure that the thermocouple wires are not damaged or broken. Perform a continuity test to identify any open circuits.
- If the temperature readings are consistently off or show significant deviations, calibrate the thermocouple or consider replacing it if calibration doesn’t resolve the issue.
Remember, troubleshooting can be a process of elimination, so be patient and thorough in your approach. If necessary, refer to a troubleshooting flowchart or seek guidance from professionals in the field to identify and resolve specific problems with your thermocouple.
Preventive Maintenance for Thermocouples
To avoid future issues with your thermocouples, it’s essential to implement preventive maintenance practices. Regular maintenance can help extend the lifespan of your thermocouples and ensure their optimal performance. Here are some tips to keep in mind:
- Regularly inspect and clean your thermocouples to remove any debris, dust, or oxidation.
- Check for loose connections and tighten them as needed.
- Calibrate your thermocouples periodically to maintain accurate temperature readings.
- Follow the manufacturer’s recommended maintenance schedule and guidelines.
By incorporating these preventive maintenance practices into your routine, you can minimize the occurrence of thermocouple issues and ensure their reliability in your systems.
Conclusion
In conclusion, troubleshooting and repairing a faulty thermocouple is an important skill to have for anyone working with temperature measurement systems. By understanding the functioning of thermocouples, gathering the necessary tools, following safety precautions, and using our step-by-step guide, you can confidently diagnose and fix common thermocouple issues.
Remember to apply the troubleshooting tips and perform regular preventive maintenance to keep your thermocouples in optimal condition. By doing so, you’ll ensure accurate temperature readings, prevent system malfunctions, and prolong the lifespan of your thermocouples.
So go ahead, roll up your sleeves, and put your newfound knowledge into action. Troubleshoot and repair those faulty thermocouples like a pro!
Leave a Reply